Customize: Table of Contents
Getting Started with Customize
These instructions may appear a little complicated in the beginning. Be patient and you will find this Guide brings you quickly to a level of comfort with our Design Tools. If there is anything you don’t understand, let us know via Contact The Help Desk, via Live Chat from your control panel, by contacting ask@artspan.com or by phone 9 -4 Eastern U.S. Time, 609-397-0888 (we can also arrange a phone conference at another mutually convenient time).
Back to Tutorials: Table of Contents (for a full guide on choosing a theme)
The Amsterdam Themes
Our Amsterdam themes are timeless classics, and are ideal if you want to create an attractive home page. As with all of our templates, colors, fonts and sizes are fully customizable.
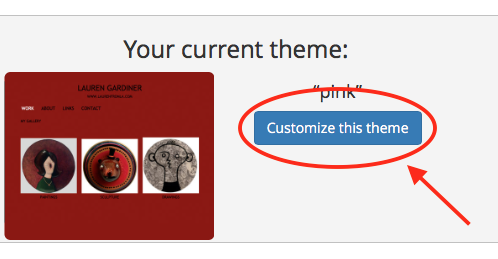
☛ Once you've chosen your theme, click the “Customize This Theme” button to customize colors, fonts, backgrounds and more.
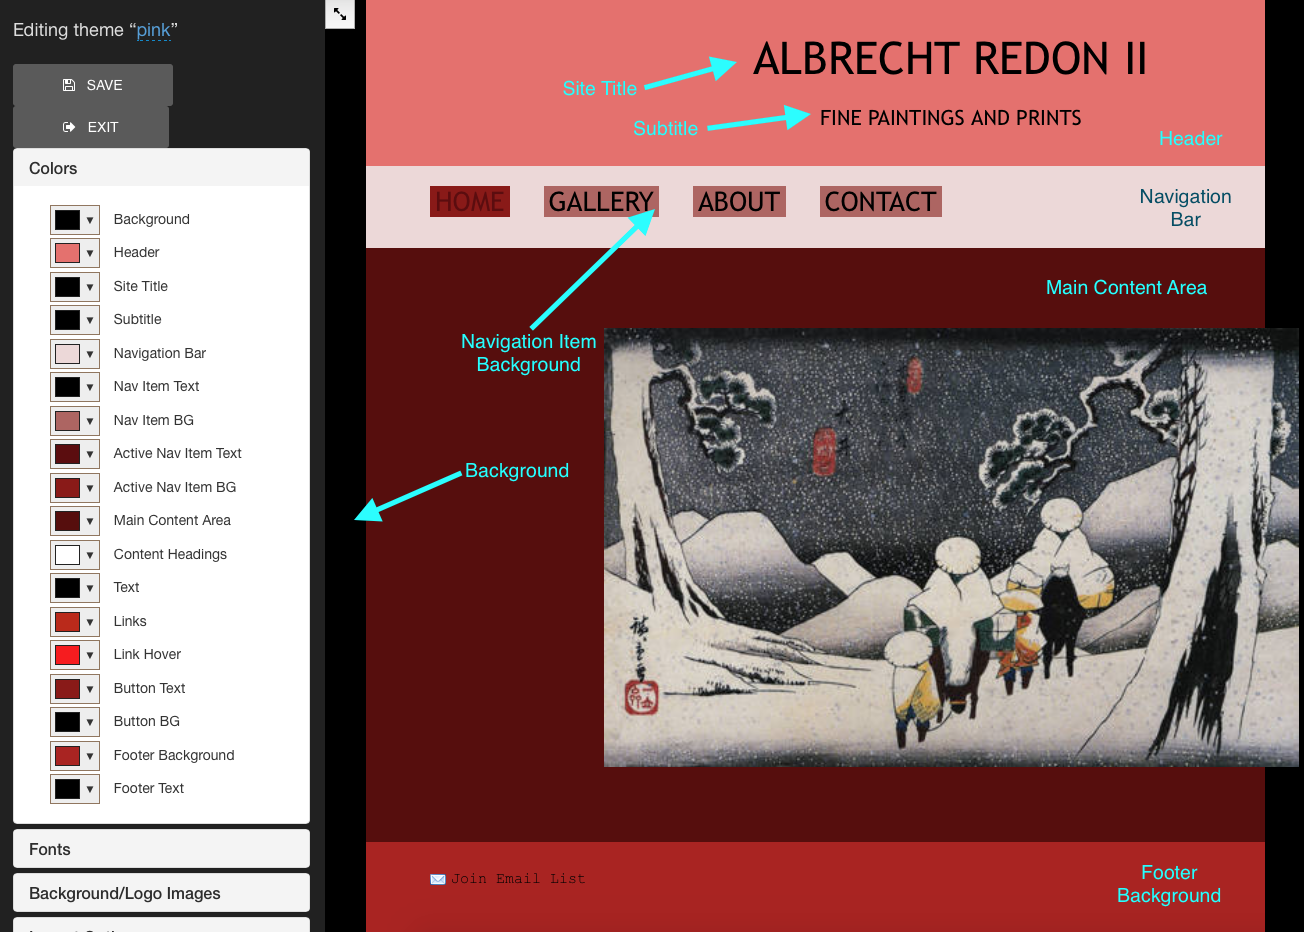
☛ The menu in your design palette corresponds to different areas and aspects of your site, and is slightly different for our two types of themes.
☛For our Amsterdam Themes:
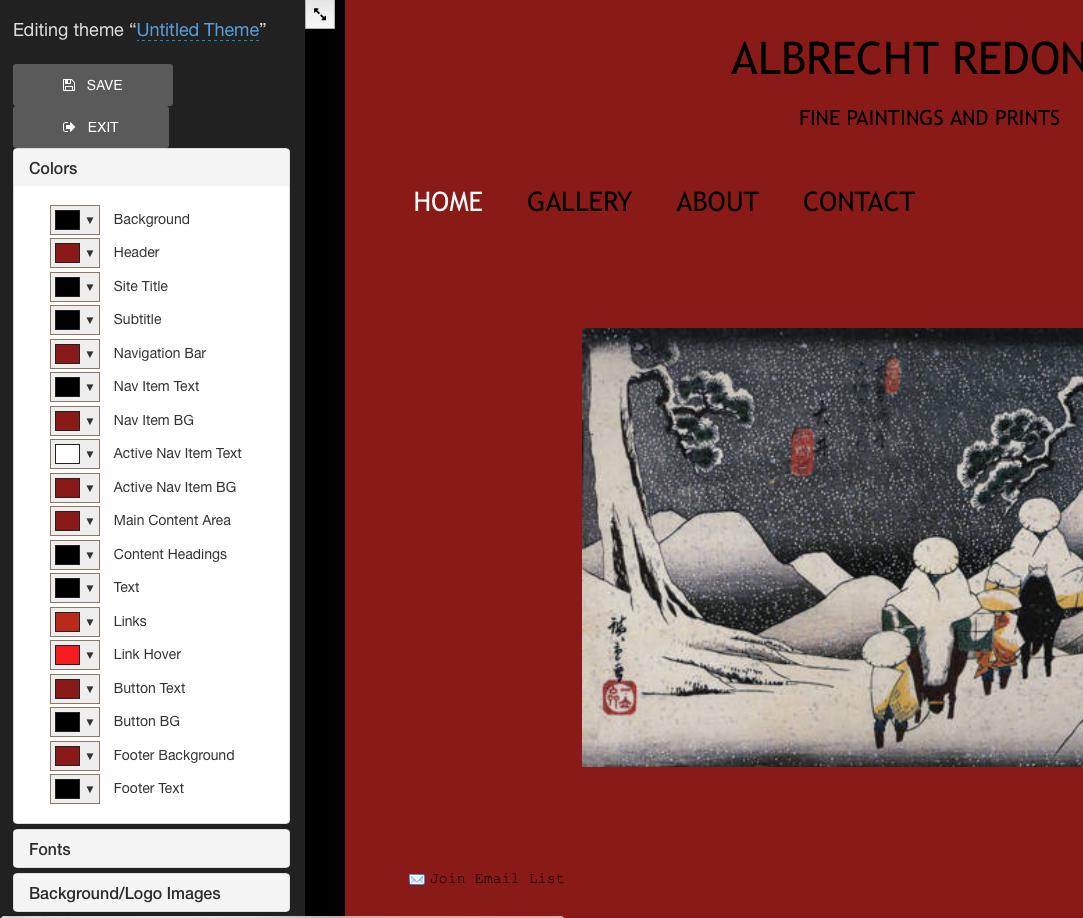
☛Click on “Colors” to change the color of any part of your site, or of the Title or Subtitle.
☛Click on the small box that corresponds to the item you wish to change. A section of colors from the site's palette will pop up, as well as an adjustable color-picker, so you can select any color you want.
☛Click “choose” to apply the color to your site.
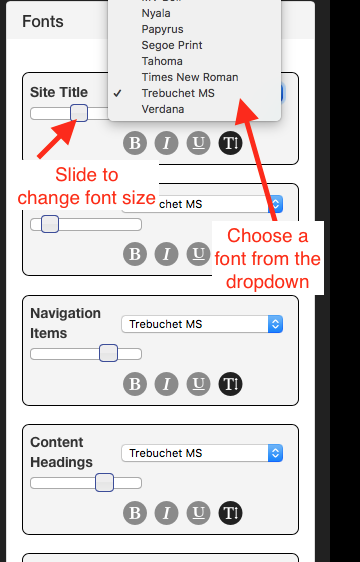
☛Click on “fonts” to change text font and size.
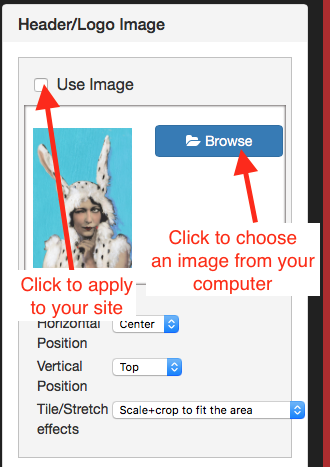
☛You might want to upload a logo to the Site Header Area. If you want to upload a banner, we suggest using 1000 x 100 pixels as a base measurement. If you upload a banner, remember to hide the site name.
☛ To hide the Site Name, erase it in “site settings.”
☛ Click Save and Exit to commit any changes.
GALLERY INDEX PAGE
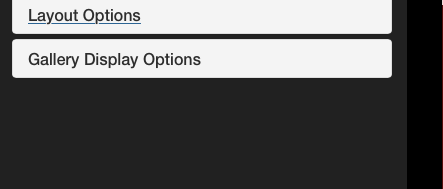
☛ Click on “Gallery Display Options.” If you have galleries set up, this section allows you to fine-tune the look of your galleries.
Gallery Display Options: Step 1
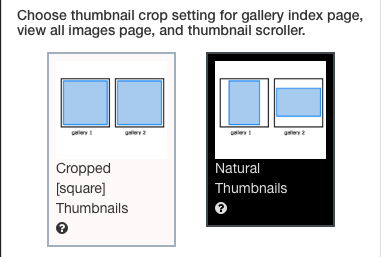
☛ Choose the thumbnail crop setting for the gallery index page by selecting one the following: “Squared Thumbnails” or “Natural Dimensions.” Hover your cursor over the question mark for more information.
Gallery Display Options: Step 2
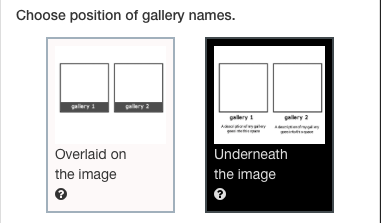
☛ Choose the position of the gallery names. If you choose Overlaid on the image The gallery name appears on the bottom of the image. Mouse click shows gallery description. This is a better option to ensure that your gallery thumbnails align correctly on the gallery page. If you choose Underneath the image The gallery name and description is shown centered underneath the image.
Gallery Display Options: Step 3
Decide on the viewer’s first impression of your gallery page. Will they see a list of all of your gallery thumbnails, or will they see an enlarged view of the first image in the gallery?
Gallery Display Options: Step 4
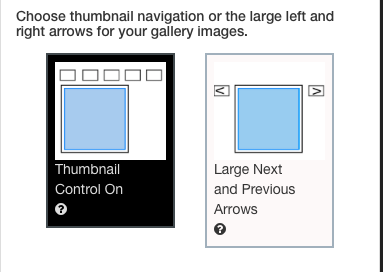
☛ Decide whether or not a viewer will use a thumbnail strip above the large image or left and right arrows to scroll through your images.
☛From the dropdown menu you can decide if visitors to your site see a gallery index page or jump straight into your first gallery. You should be aware that if you choose for visitors to jump straight into your first gallery, the titles and descriptions of your other galleries will not show.
☛ After your choice has been made, “Save” and “Exit.”
Back to Tutorials: Table of Contents
☛Saving a Custom Style
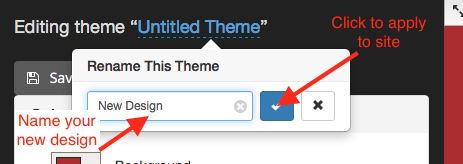
The first step in saving a custom style is to name it.
And then Click the check mark to save it and apply it to your site.
☛You will need to click the “Save” button to commit any changes.
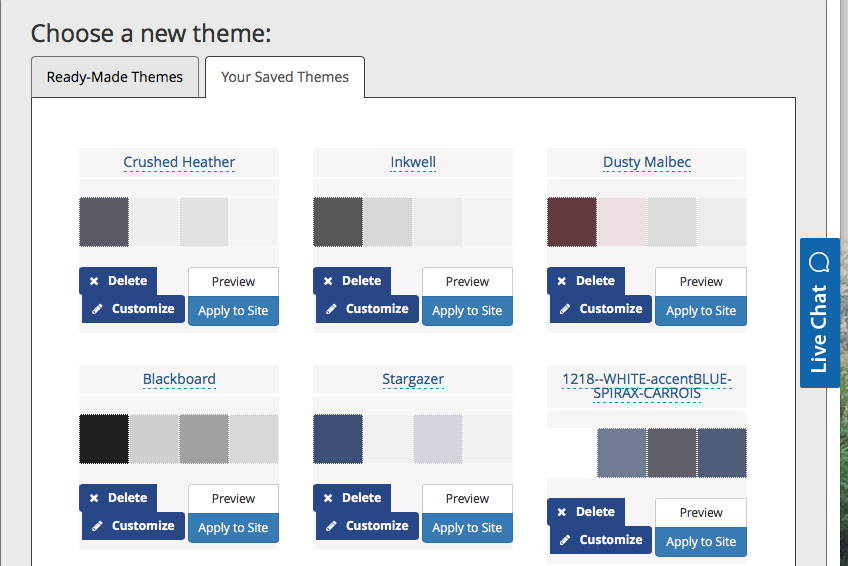
☛Your custom style is now saved, and you can return to it at any time by clicking “Your Saved Themes.”
Back to Tutorials: Table of Contents

